
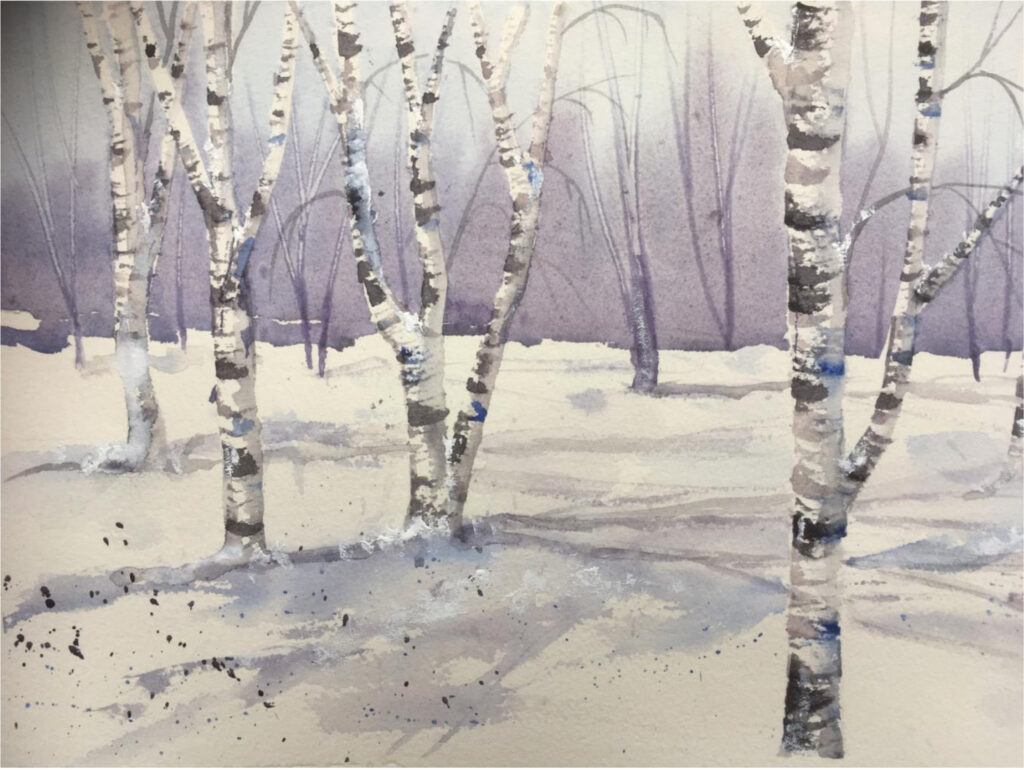
TUTORIAL – Winter Landscape by Caroline Furlong
Painting snow can be a challenging subject in watercolour. We must use the white of the paper to represent it. We have to remember that snow is not just white. Basically, snow is water, and when we look at water it is transparent, and so we can see other colours through it and also reflected in it. Similarly, snow picks up the colours surrounding it, i.e. sky, other objects, and shadows.
Materials list
- Watercolour paper 140 lbs rough Saunders Waterford
- Selection of watercolour brushes
- Water pots
- Masking tape or masking fluid
- I/4 of old credit card
- Masking tape or masking fluid
- Watercolour paints in three colours (I used Daniel Smith Payne’s Grey, Ultramarine Blue and Shadow Violet, but any other make will be fine)
- 3B pencil and rubber
Method
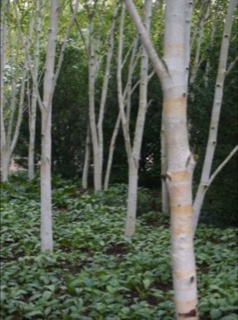
For this winter snow painting we are using a reference photograph of silver birch trees taken at Anglesey Abbey. These trees have been a great influence for some of my own paintings. The photograph shows quite a few trees, but we are going to just pick out four or five of these for the painting.

Using your pencil, lightly outline your selection of trees. When you are happy with the composition, mask out the trunks of the trees. You may use masking fluid but, in the picture above I have used masking tape, which I have torn, so that I do not have a straight edge. Stick this on to the trunks and branches of the trees. If you are using masking tape, make sure it is properly stuck down. Some cheap brands of tape do not work well and allow the colours to seep under the edges.
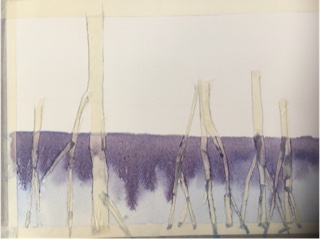
Mix your chosen colours with water to make a fairly pale mix of each one. Turn your painting upside down, so the sky will be at the bottom of your board. Using a large mop brush, wet the whole sky area with clean water. Allow this to soak into the paper, then start with your lightest colour – in my case, Ultramarine blue – and paint the whole area. Allow this wash to dry, but not completely, and then use your next lightest colour and staring at the horizon line let the paint run down to form a background between the trees. Allow this to dry off a little and then add your last colour, which will add another layer. This will give the painting an effect of evergreen trees in the distance. Turn your painting up the right way if your background trees are getting too tall – this will stop the paint continuing to creep.
While this area is still wet, use the corner of a cut credit card to scrape in some of the background silver birch trees. Where the paint is still wet you will get a dark mark. Where it has started to dry out, you will be pulling the paint off the painting and so leave a white mark. Work quickly as this effect will not work if your sky area is dry.
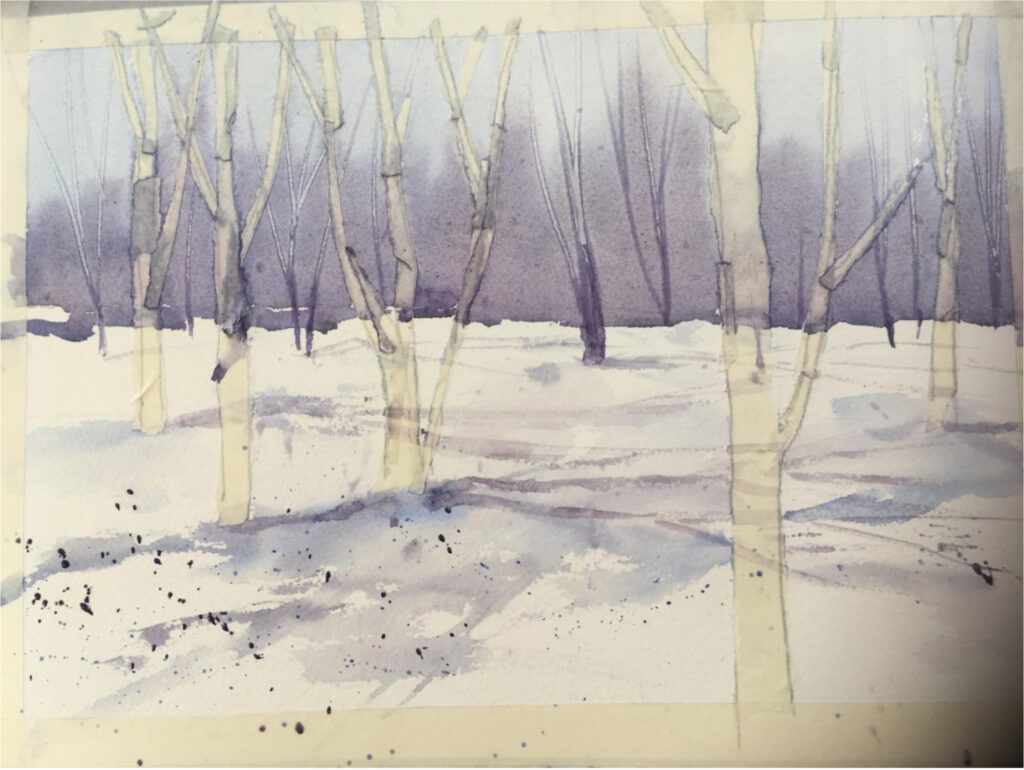
Now using the same colours that you have already mixed, drop in some of the ground colours forming shadows and undulations in the snow. A bit of splattering can work well in one area.
Dry thoroughly, then carefully remove your masking tape or masking fluid from your foreground trees. Use a soft putty rubber to get rid of any pencil marks that may be left on your paper.
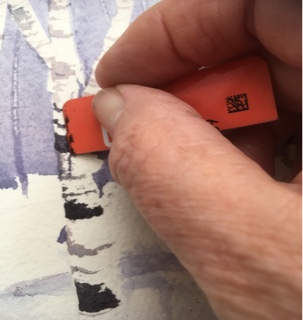
Mix up your paint to a deeper colour and a thicker consistency. Now using the credit card to paint with, dip it into your lightest colour and paint the texture of the tree bark by using a dragging motion horizontally across the trunks.
Start by using your lightest colour then work through to your darkest colour, making sure that you do leave some of the white paper behind.
To finish the paintings details, use a fine #2 or rigger brush to paint in some fine twiggy bits. Then add shadow to the right-hand side of all the trees by wetting the side of the trunk with clean water, then after allowing it to dry a little, using a very diluted shadow colour (I used Shadow Violet).
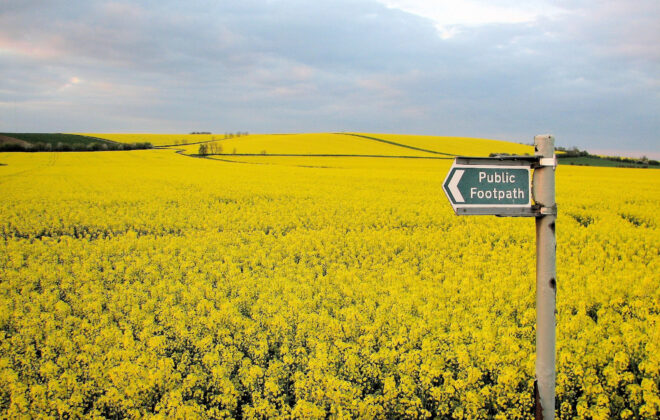
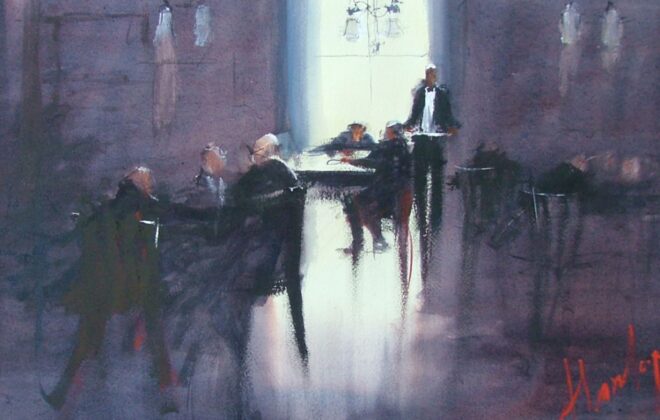
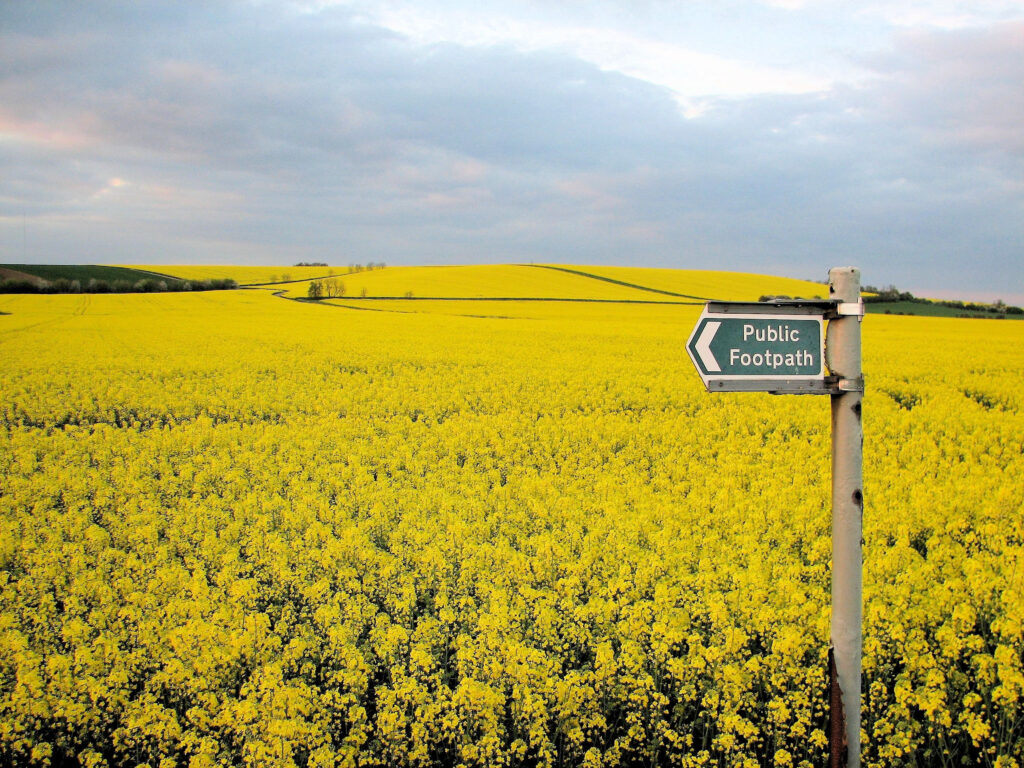
You can follow these step by step instructions and recreate this scene or you can use one of the photos provided in the Winter Landscape Challenge.
Don’t forget to share the result on the Facebook Group for Society of East Anglian Watercolourists Members and Friends – I would be pleased to see your paintings.