TUTORIAL – Botanical style by Sarah McGonigle
I do not profess to be a botanist, merely an enthusiastic flower painter! Botanical painting can sometimes be seen as laborious. Some complex flower paintings, especially dark flowers, can take many hours to complete. I have been painting for over 20 years, and am lucky enough to have had some wonderful teachers. I am going to try to share a little of what I have learnt, and give an insight into my usual working methods.
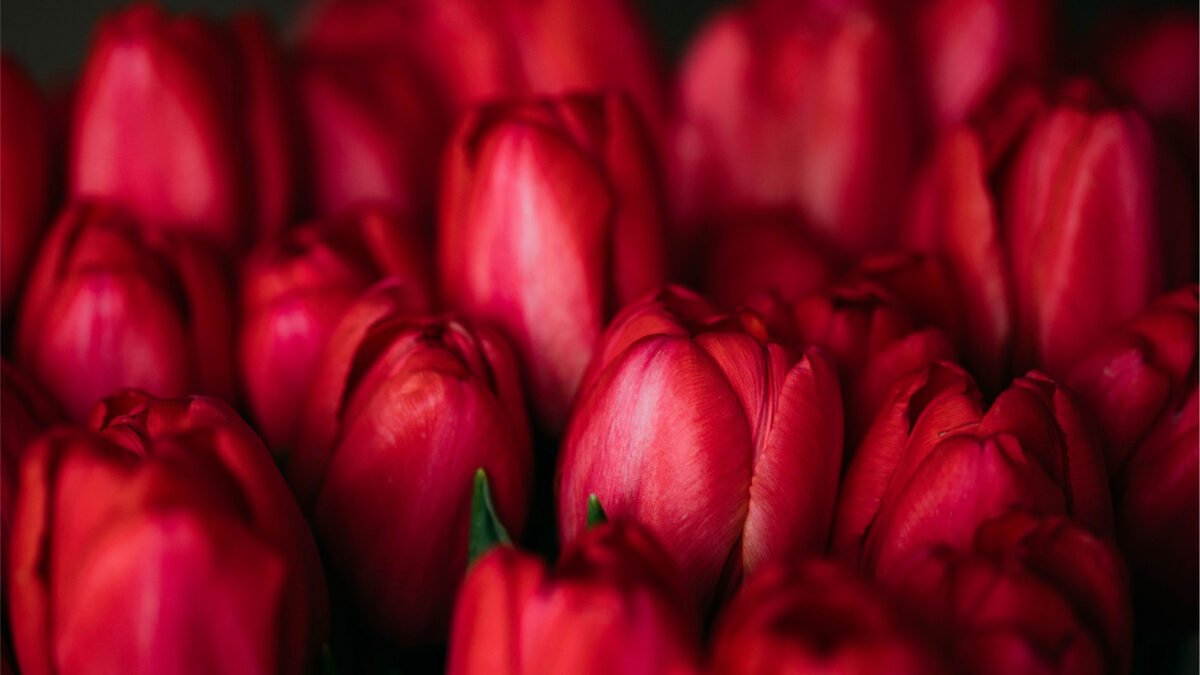
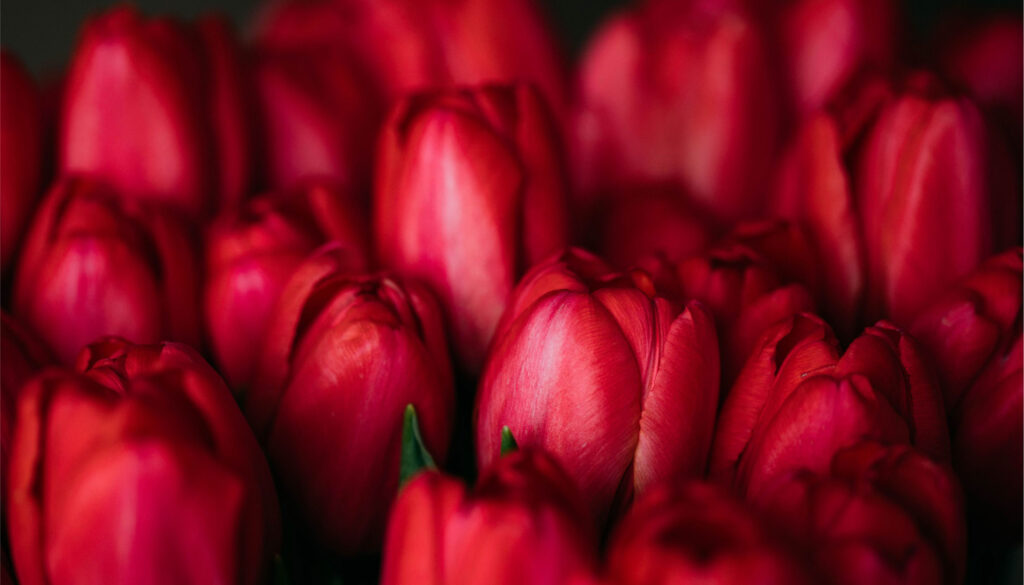
I have chosen tulips for this tutorial as they have relatively simple shapes. I have removed the leaves to simplify the subject even further.
All watercolour painting comes down to personal preferences, I like to think that there is no right or wrong way of doing it, you choose what suits your painting style.
My personal preferences are :
Paper
Saunders Waterford Hot Pressed 140lb, white or high white, usually in a bound pad, which helps to keep the work nice and flat. It’s not too smooth and has a nice creamy quality. The slight drawback with this paper, is that it is quite absorbent and won’t tolerate too much ‘lifting’ of colour. Many botanical painters prefer a smoother surface, such as Arches or Fabriano, which allow for much finer detail to be achieved. For this demo I have used the Saunders Waterford bound pad.
Paints
I have used my ‘go to’ reduced palette for this piece all Winsor & Newton Artists quality (tubes) which I usually squeeze out on to an old clean white plate. As a beginner or intermediate, you can achieve a wide variety of shades with a limited palette. There are of course many other paint manufacturers such as Sennelier and Daniel Smith and you can add to your palette as your confidence improves. Try to use Artists quality paint if you can, as these are much more transparent than chalkier students quality, and will give you better results in your finished work . My palette for this piece consists of:
All Winsor & Newton
- Aureolin Yellow
- Sap Green
- Cobalt Blue
- Rose Dore
- Permanent Rose
- Alizarin Crimson
- Scarlet Lake
- A tube of White designers Gouache
Other useful kit, includes a really sharp pencil – 2H, fairly hard, but avoids graphite marking your paper too much, a plastic eraser, kitchen roll, cartridge or basic drawing paper, and tracing paper.
TIP – have a scrap of paper handy to test out your colours.
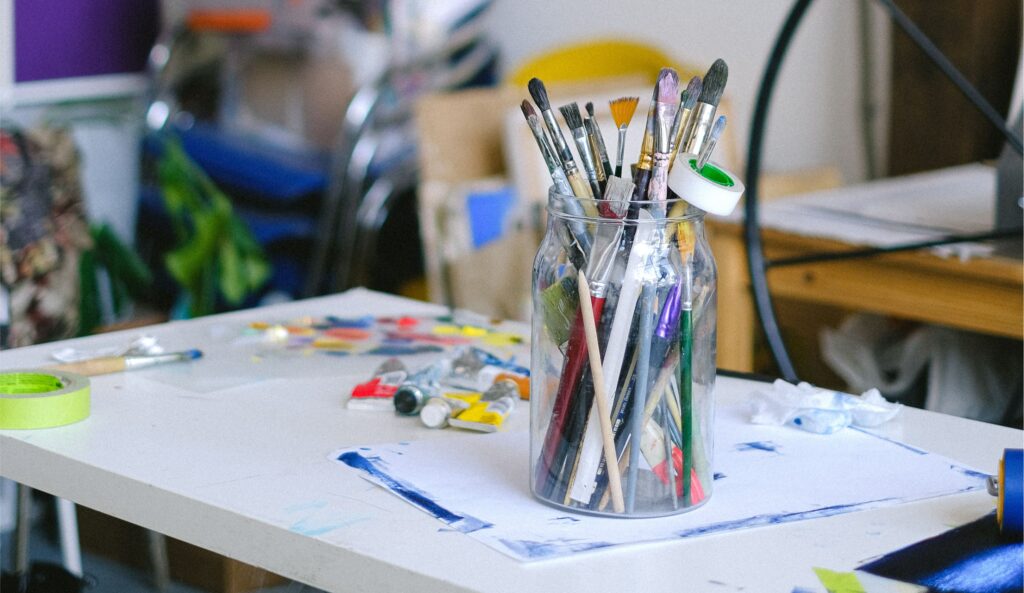
Brushes
I am currently using the Billy Showell synthetic brushes, No 2 No 4 and an ‘Eradicator’ brush – (details at the end) It is essential to have brushes with a really good point; old, worn out brushes will not give you the result that you want.
Stage 1 – Outline drawing
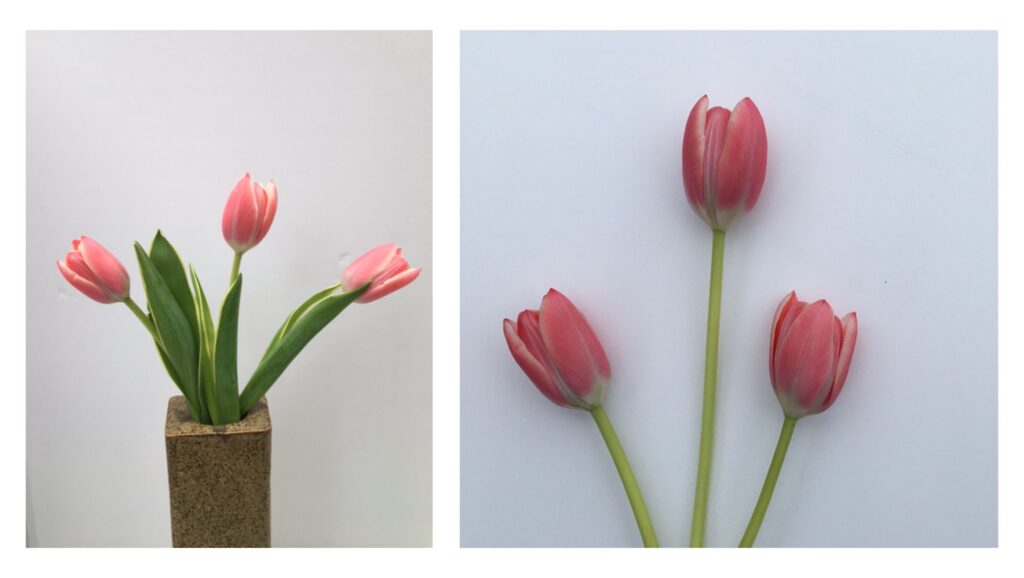 Use flowers from life or good quality photos, I usually use both as reference. Flowers have a habit of moving or decaying, and the photographs are an essential aid if you are going to be working on a piece for some time. Draw the basic outline shapes of the tulips onto your cartridge/drawing paper. It is better to do this rather than draw directly onto your watercolour paper, as we want to preserve a nice clean surface without too much rubbing out, which will damage the paper!
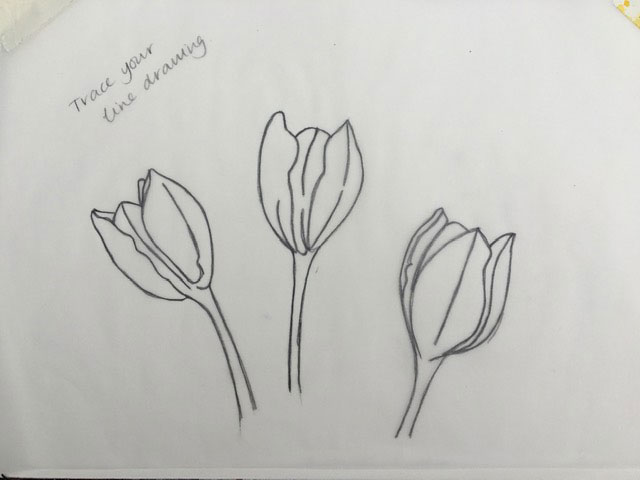
When you are happy with your drawing, transfer it (the old fashioned way) via tracing paper to your watercolour paper. (Trace, flip, re trace, position on your paper, use a little low tack tape to hold it in place and re trace your outline) You want your tracing to be quite faint on the paper, just dark enough for you to see!
Stage 2 – First washes: stems
Use clean water and a No 4 brush to fill in the stems with water alone, let it dry a bit until the shine has gone off the paper.
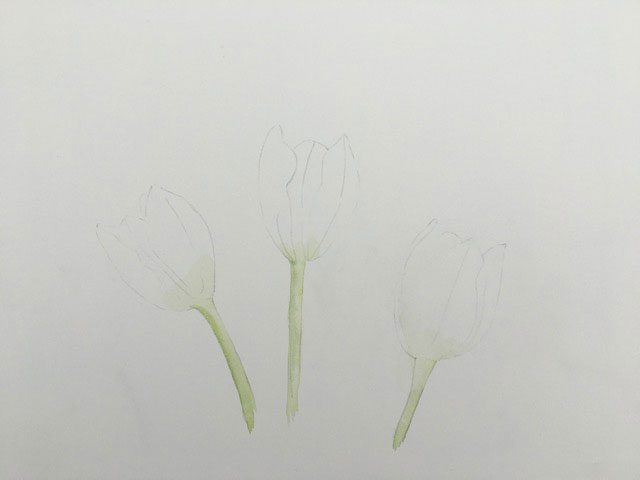
Then use a watery mix of Sap Green and Aureolin to run along the entire stems. Let dry.
Stage 3 – First washes: flowers
As before, use clean water and a No 4 brush to paint in the flower shapes and let dry, a little.
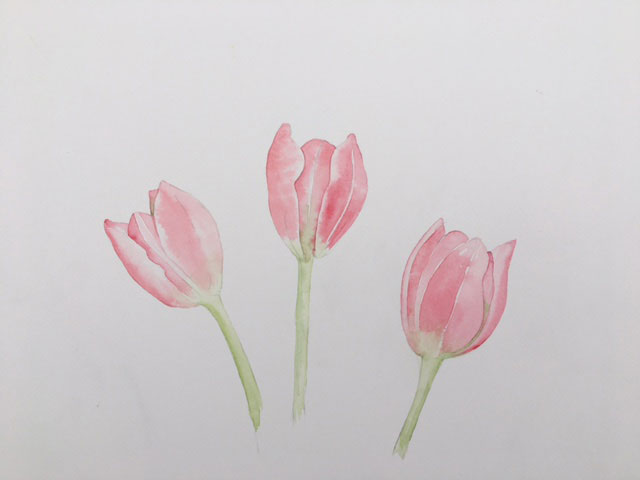
Then, using a watery mix of Rose Dore and Permanent Rose, fill in the basic petal shapes. You can mop up some of the mix where the light falls with kitchen paper, to reserve these lighter areas.
TIP – use kitchen roll to dab off any excess paint on your brush
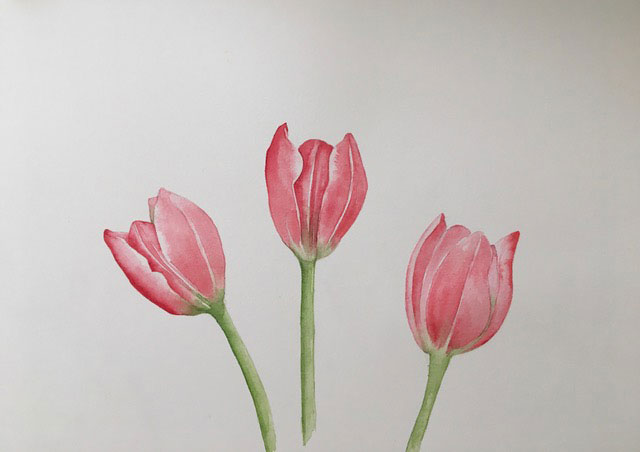
Stage 4 – Building up the washes
Return to the now dry stems, and add more colour, usually to one side of the stem to show where the light is coming from and create form. Use the same green mix, just a little less water. Then return to the flowers in the same way, building up colour where you observe the darker areas on the flowers. In this example, I have allowed a little of the green stem mix to run up into the base of the petals, as they are not completely white here.
TIP- paint alternate petals, allowing each to dry, to stop them from running into each other
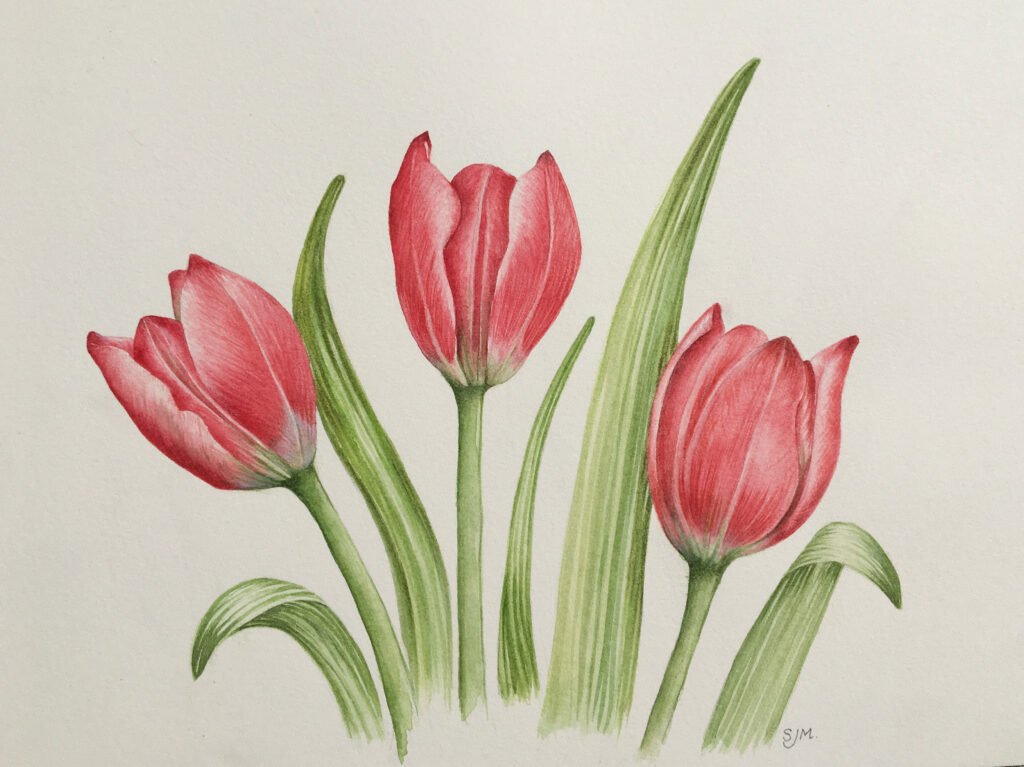
Stage 5 – Adding detail
When you have built up enough colour washes to give you the form of the flowers, allow to dry completely. You can then use your No 2 Brush, with a fine point to add a little more detail. The tulip petals usually have some striations, or stripey marks from top to bottom, and adding a few of these, in a little darker mix, perhaps add a touch of alizarin/scarlet lake, this will add further form to your petals.

Remember to leave the white/light edges to the petals to give the tulips their shape. I have added a little more detail with stronger colour at the base of the petals where they meet the stem, again to create some shadow and achieve a more realistic look. Use quite a dry brush at this stage, not too much water, and the very tip of your brush. You can go on building colour if you like, in the darker areas, to add more shape and detail, you can add a darker green mix to where the shadows fall on the stems. (I added a little Cobalt Blue for the shadow mix) You can also use the white gouache to enhance any highlights you may have lost. The final image shows the flowers at different stages of development, the flower on left in the final image having been completed.
To see the final finished painting, which includes the tulip leaves please have a look at my website
Further information
Useful books which have many tips and techniques for this style of painting, and ones I have found particularly useful, are –
- Botanical Painting in Watercolour, Billy Showell – Search Press
- Botanical Sketchbook, Margaret Stevens and Mary Ann Scott – Batsford Press
- Billy Showell (Joint President of the Society of Botanical Artists) sells a set of really good synthetic brushes, with good water holding capacity and lovely fine points on her website. (£19.95 – a set of 3 synthetic fine point brushes, £6 for the eradicator – Lifting brush)

